
Why the Shopify Afterpay Installment Setup Is a Game-Changer for Your Store
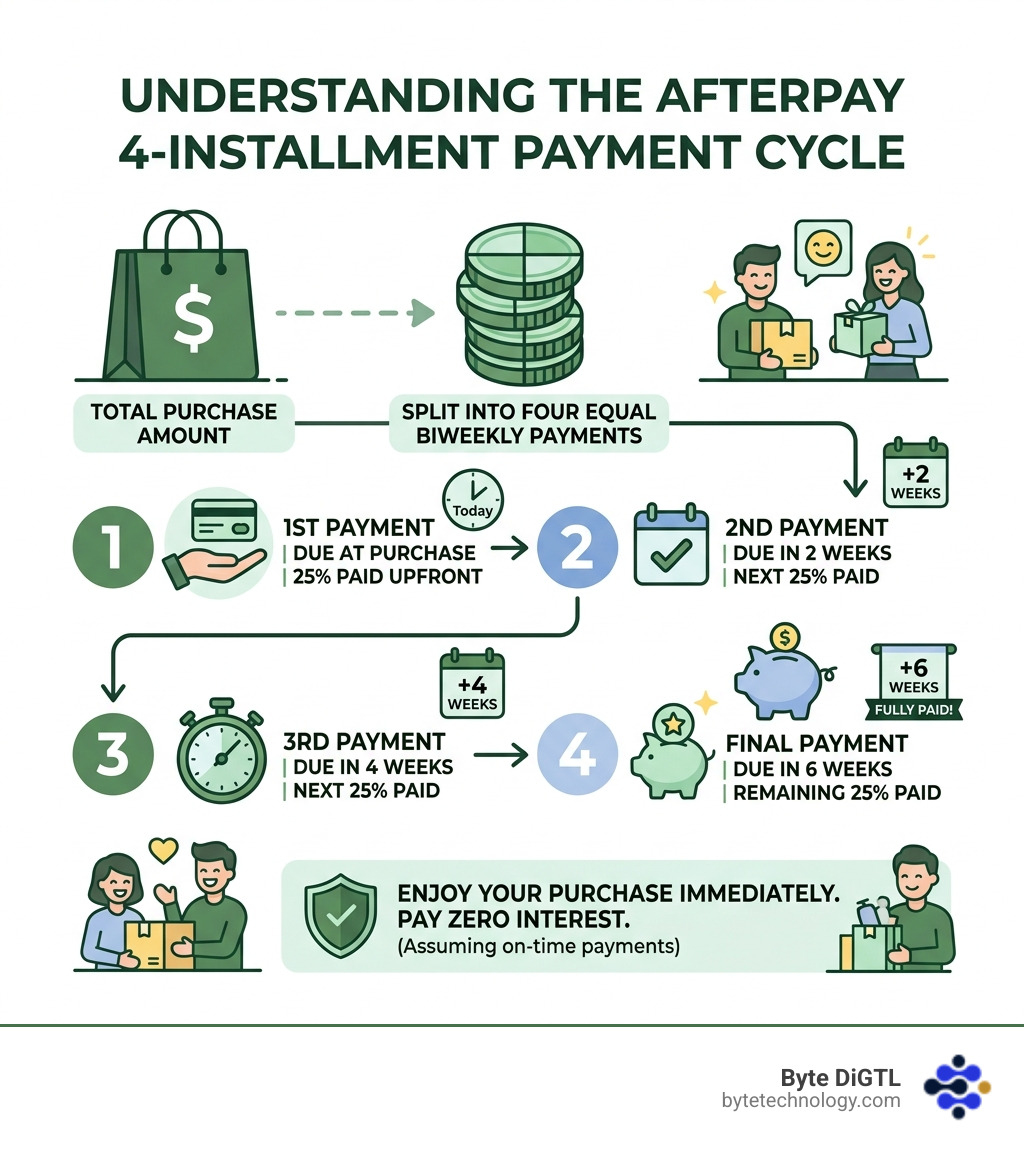
A shopify afterpay installment setup lets your customers split any purchase into four equal, interest-free payments over six weeks, while you get paid upfront in full. Here is how to do it in a nutshell:
- Create an Afterpay merchant account at afterpay.com and get your Merchant ID and Secret Key.
- Install the Afterpay app from the Shopify App Store.
- Connect your account via Afterpay’s Business Hub when prompted.
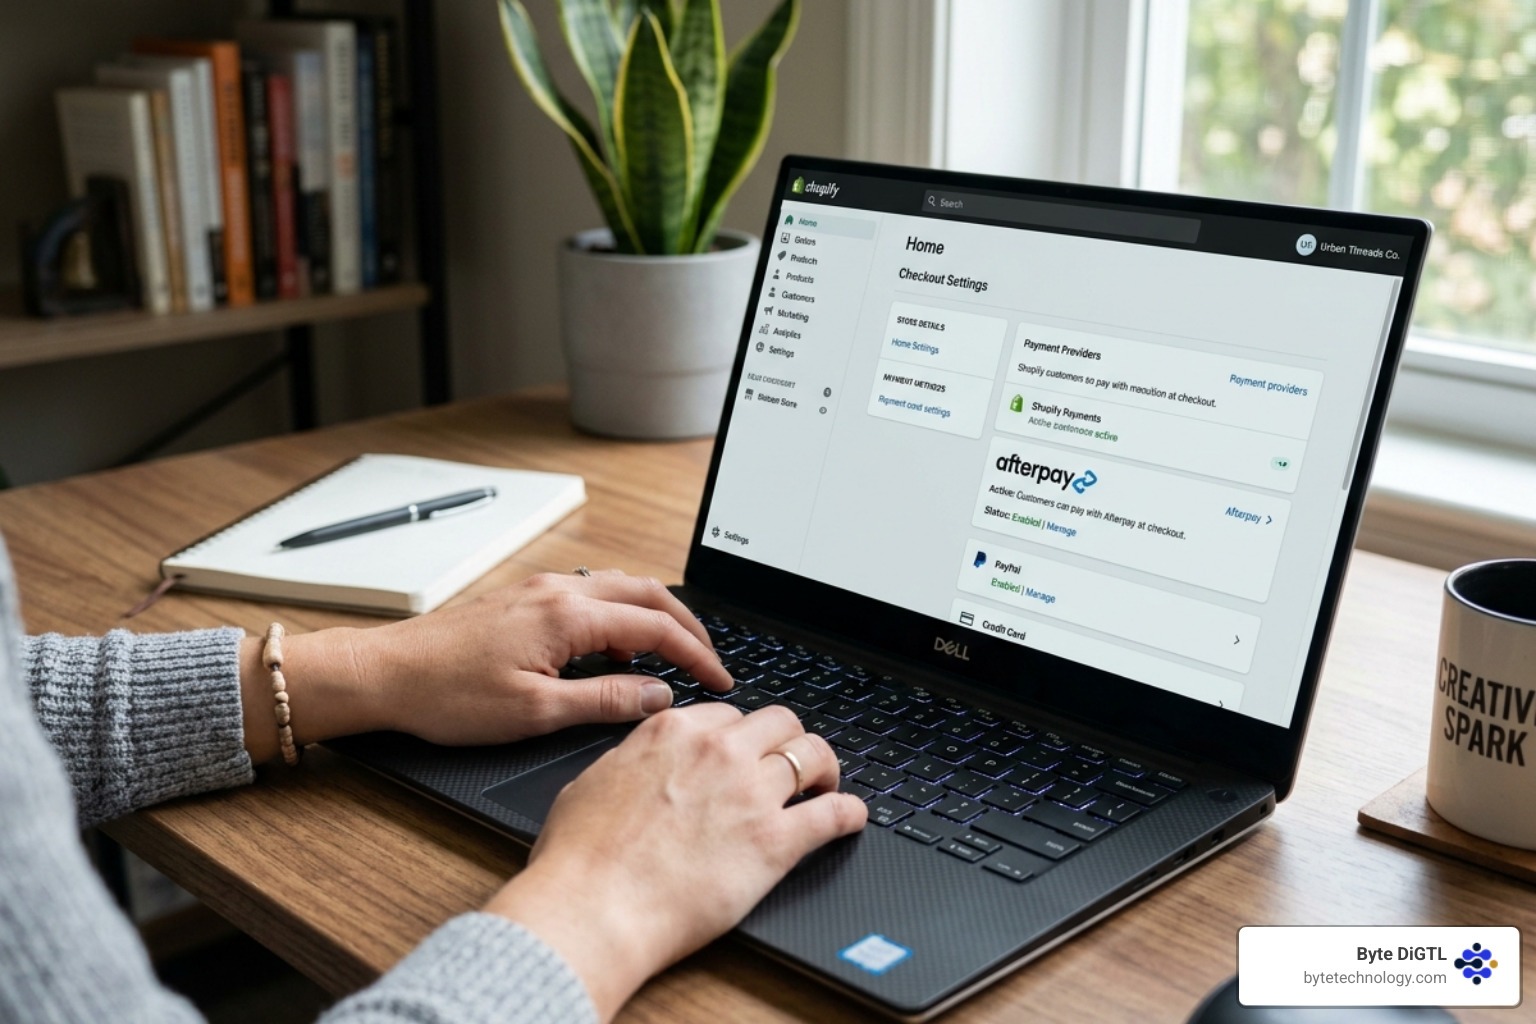
- Activate Afterpay in Shopify Admin under Settings > Payments.
- Add on-site messaging to your product and cart pages so customers see the option before checkout.
Nearly 75% of consumers prefer to shop with retailers that offer flexible payment options, and retailers who add Afterpay often see sales lift around 12% along with a 17% higher average order value. With 24 million active global customers, Afterpay is no longer a nice-to-have. It is a real conversion tool.
And the good news? Setup does not require a developer. Most merchants can go live in under an hour.
At BYTE DiGTL, our team brings over a decade of e-commerce development experience, including hands-on work with Shopify payment integrations like the shopify afterpay installment setup, helping brands turn checkout friction into completed sales. In the sections below, we walk you through every step, from prerequisites to on-site messaging to order management, so you can get Afterpay live and working correctly the first time.
Prerequisites and Benefits of Afterpay for Merchants
Before we dive into the technical “how-to,” it is important to understand why this integration is such a powerhouse for modern retail. As we move through April 2026, the e-commerce landscape continues to shift toward “Next Gen” shoppers, primarily Millennials and Gen Z. These demographics often avoid traditional credit cards in favor of transparent, interest-free budgeting tools.
By completing a shopify afterpay installment setup, you are essentially meeting your customers where they are. Statistics show that 56% of consumers are more likely to complete their purchase if they see a buy-now-pay-later (BNPL) option at checkout. This flexibility directly combats cart abandonment, one of the biggest hurdles for any online store. When a $200 item is presented as “4 payments of $50,” the psychological barrier to entry drops significantly, often leading to a 17% higher average order value.
Furthermore, Afterpay takes on the risk. They pay you the full amount (minus their fee) upfront, and they handle the collection of installments from the customer. If a customer misses a payment, that is Afterpay’s concern, not yours. This allows you to focus on what you do best: growing your brand. For a deeper look at how to build a solid foundation for your store, check out our A Beginner’s Guide to e-commerce.

Prerequisites for a Shopify Afterpay Installment Setup
To ensure a smooth Flexible Payments for Your Customers experience, your store must meet specific eligibility requirements. If these are not aligned, the Afterpay option simply will not appear at checkout.
- Supported Countries: Your business must be registered in the United States, Canada, Australia, New Zealand, or the United Kingdom (where it operates as Clearpay).
- Currency Alignment: Your Shopify store’s functional currency must match the region of your Afterpay account. For instance, a US merchant account requires the store to trade in USD.
- Store Address: The physical address listed in your Shopify “Store Details” must be in a supported region.
- Product Eligibility: While most physical goods are fine, Afterpay restricts certain industries such as alcohol, gambling, adult content, and firearms.
- Payment Capture: Afterpay works best when Shopify is set to “Automatically capture payment for orders,” though manual capture is now supported with specific rules we will cover later.
Step-by-Step Guide to Your Shopify Afterpay Installment Setup
Now that we have the basics covered, let’s get your store connected. This process involves linking your Shopify admin to the Afterpay Business Hub. If you find yourself needing professional assistance with your store’s architecture, our Shopify e-commerce Development services are designed to handle these integrations seamlessly.
Activating the Afterpay Gateway in Shopify Admin
The modern shopify afterpay installment setup uses a dedicated app rather than the old manual gateway method. Follow these steps to activate it:
- Apply for a Merchant Account: Visit the Afterpay website and submit an application. Once approved, you will receive a Merchant ID and a Secret Key. Keep these safe.
- Find the App: In your Shopify Admin, go to the Shopify App Store and search for “Afterpay.” There are two versions: one for the US and one for the rest of the world. Ensure you download the correct one for your region.
- Connect to Business Hub: After installing the app, you will be redirected to Afterpay’s Business Hub. Log in using your merchant credentials.
- Link the Accounts: Click the “Connect” button to link your Afterpay account to your Shopify store. This step automatically passes your API credentials to Shopify.
- Final Activation: Go back to Settings > Payments in Shopify. Under “Additional Payment Methods,” you should see Afterpay. Click “Activate.” Ensure that “Test Mode” is unchecked unless you are specifically running a sandbox test.
For more community-driven insights on this process, you can view this discussion on Setting up Afterpay.
Configuring On-Site Messaging for Shopify Afterpay Installment Setup
Simply having Afterpay at checkout is not enough. To truly see that 12% sales lift, you need to tell customers about it early in their journey. This is called “On-Site Messaging.” It places a small widget under the product price that says something like, “or 4 interest-free payments of $25 with Afterpay.”
To set this up:
- Install the On-Site Messaging App: Afterpay provides a separate app specifically for these banners and widgets.
- Use the Theme Editor: You do not need to be a coding wizard. Most modern Shopify themes allow you to add an “Afterpay” block directly within the Product Page and Cart Page templates.
- Manual Placement: If your theme does not support blocks, you may need to insert a small JavaScript snippet into your
theme.liquidfile. We recommend placing this just before the closing tag. - Customization: You can adjust the color, alignment, and size of the messaging to match your brand’s aesthetic. Proper placement ensures your Shopify Web Designer doesn’t have to worry about broken layouts.
By showing the installment price on the product page, you reduce “sticker shock” and encourage the customer to add the item to their cart. For more tips on conversion, see our guide on How to Optimize Your e-commerce Site for Success.
Managing Orders and Manual Capture Settings
One of the most technical aspects of the shopify afterpay installment setup is how it interacts with Shopify’s payment capture settings. In the past, Afterpay only supported automatic capture. Now, the new integration respects Shopify’s manual capture setting.
When a customer places an order using Afterpay under manual capture:
- Authorization Hold: Afterpay places an authorization hold on the funds. This hold is valid for 13 days.
- Installment Start: Interestingly, the customer’s installment plan begins immediately upon authorization, and they are usually charged their first installment right away.
- Capture Deadline: You must click “Capture Payment” in the Shopify Order tab within 13 days. If you wait until the 14th day, the authorization voids, the order is cancelled, and the customer is refunded.
- No Partial Cancellations: Currently, Shopify does not support partial cancellations for Afterpay orders. You can only cancel the full amount.
Understanding these rules is vital for maintaining a healthy store and high e-commerce SEO rankings, as frequent cancellations can lead to poor customer reviews.
Frequently Asked Questions about Afterpay on Shopify
We know that payment integrations can bring up a lot of questions. Here are the most common queries we see at BYTE DiGTL regarding the shopify afterpay installment setup.
What are the typical merchant fees for Afterpay?
Afterpay does not charge a monthly subscription fee. Instead, they take a cut of each transaction. While rates can vary based on your sales volume and region, the standard fee is typically around 6% plus a $0.30 flat fee per transaction.
While this is higher than standard credit card processing (which is usually around 2.9%), the trade-off is the increased conversion rate and higher average order value. Most merchants find that the “extra” sales generated by offering BNPL more than cover the higher transaction fee.
How do I test the Shopify Afterpay installment setup?
You should never go live without testing. To test your setup:
- Enable Test Mode: In your Afterpay merchant portal, you can find “Sandbox” or “Test” credentials.
- Shopify Settings: In Settings > Payments > Afterpay, check the “Use test mode” box and enter your sandbox credentials.
- Run a Transaction: Go to your storefront and attempt to buy a product. You should be redirected to a dummy Afterpay login page where you can use test credit card numbers provided in the Afterpay Developer Documentation.
- Disable Test Mode: This is the most important step! Once you verify it works, uncheck “Test Mode” and ensure your Production Merchant ID and Secret Key are saved.
Why is Afterpay not showing up at checkout?
If you have followed the shopify afterpay installment setup but the option isn’t appearing, check the following:
- Minimum/Maximum Limits: Afterpay usually only appears for orders between $35 and $2,000. If your cart total is $10, it won’t show up.
- Currency Mismatch: Ensure your store is set to the currency of the country where your Afterpay account was opened (e.g., USD for US accounts).
- App Activation: Double-check that the app is fully “Activated” in the Payments section of Shopify.
- Customer Location: If you are testing from a country not supported by your Afterpay account, the gateway will hide itself.
For more troubleshooting help, the Shopify Community is a great resource for specific edge cases.
Conclusion
Setting up Afterpay on your Shopify store is one of the most effective ways to boost your revenue and cater to the modern consumer’s desire for flexibility. From the initial merchant application to the final on-site messaging tweaks, a proper shopify afterpay installment setup transforms your checkout process into a low-friction, high-conversion machine.
At BYTE DiGTL, we specialize in helping merchants in Littleton, Denver, Monterey, New York, Minneapolis, and Dallas maximize their online potential. Whether you need help with Shopify e-commerce Development or a comprehensive multi-channel strategy, our team is here to help. Our “Byte Bundles” provide you with a dedicated team of specialists at a fraction of the cost of a full-time employee, ensuring your tech stack—including your payment gateways—is always optimized for growth.
Ready to take your store to the next level? Let us help you turn those “browsers” into “buyers” with a seamless payment experience. Contact us today to learn how we can support your e-commerce journey.